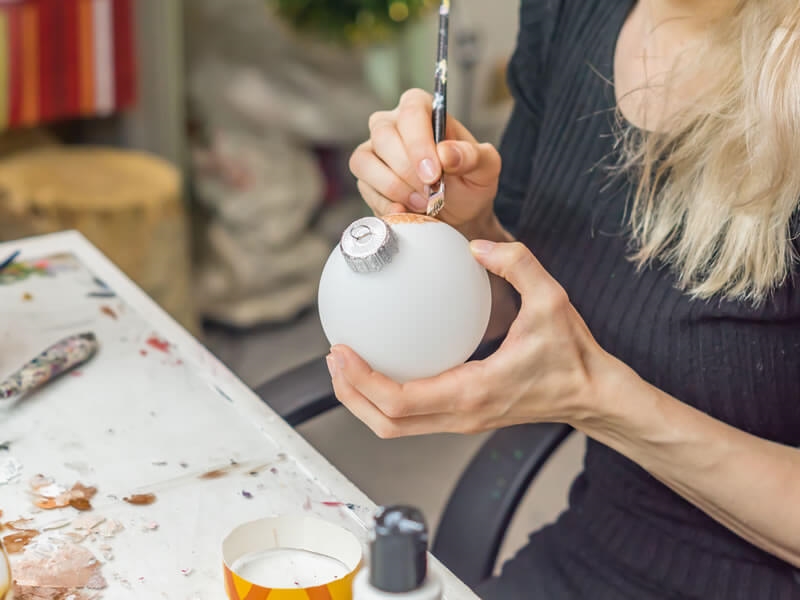


Did you know that originally Christmas trees were simply decorated with apples, dried fruits or some flowers? It was not until 1847 that a glassblower sought to imitate these decorations to create more original and more durable. But that says originality also says creativity. Let yourself be tempted by the "homemade" to give your interior a personal touch that will make you envious. Here are our 4 DIY ideas for personalized and unique Christmas balls.
Hyper simple to achieve, this Christmas ball can be declined in all colors and shapes. For our tutorial, we chose the round ball. But if you like other shapes, give free rein to your imagination, the principle remains the same!
You will need:
- Transparent plastic balls opening in two
- Acrylic paint
- Flat brush
- Plastic plate
- Adhesive tape
- Pair of scissors
- Fine rope
Start by opening your plastic ball in half. Then choose which style you want to adopt for your decoration: either you play it abstract or more classical.
In the first case, opt for one, two or three colors, no more. Prepare them on your plastic wafer, dip your brush on them, and throw a few splashes of color inside the two half-spheres.
In the second case, cut your adhesive tape and stick it inside your half-spheres to delimit the area to be colored. Then choose your colors and line the inside of the half-spheres according to the chosen zones.
Let it dry for at least 6 hours before removing the adhesive paper and closing your ball. Finally put a piece of rope in the suspension of the plastic sphere and hang it on your tree.
Do you have old fabrics that you thought were thrown away, a shirt too small, worn jeans? Make way for the recovery! For this warm and durable Christmas ball, you will need:
- White polystyrene balls
- Wood glue
- Flat brush
- An old fabric
- Wire
- White sewing thread
Cut strips of fabric two centimeters wide, and the length of your choice. Turn the strips one at a time to make them into cylinders, or braid three strands of fabric together, depending on the desired effect.
Then line up your white glue stick and apply your braid or fabric roll. Press hard between your hands to tighten and solder. Then cut a piece of wire, bend it in U, and push it on the top of your ball. Put on a white thread and tie your ball to the tree.
To be well done, sober and elegant, this Christmas ball requires a little dexterity and patience. You will need:
- Fine paper type silk or crepe
- Pair of scissors
- Needle
- Piece of cardboard
- Heavy duty white sewing thread
Cut out a 7cm diameter circle in the box to form a pattern. Place it on the thin paper and cut out 16 more circles. Fold each paper circle in 4 without pushing on the edges. Thread your sewing thread into the eye of the needle and sew 3mm from the tip of your folded circle. Connect 8 circles and tie. Do the same with the other 8 folded circles. You get two half-spheres that finally connect to each other by a few points on the white thread (as discreetly as possible). Leave a wire behind to hang your ball on the tree.
Ideal to make with children, the pompom will do wonders in your living room. To realize it, you will need:
- Tulle or wool type fabrics
- Pair of scissors
- Fine rope
- Piece of cardboard
- Resistant sewing thread
Cut out two circles of cardboard 7cm in diameter and make a 1cm diameter hole in the center of each. Layer them.
Wrap the fabric or wool from the center to the outside of the circles until you completely cover the cardboard (do not hesitate to go back several times to the same place).
Then cut the fabric or wool all around by sliding your scissors between the two circles of cardboard. Once this operation is done, slide your cord between the two cards and tie a very tight knot to fasten the fabric in its center.
Finally remove the boxes and tie your pompom to the tree with the cord.
>> Another DIY idea to do : make your own photo album with our tips!